6 Steps to Build a Risk-Free App from Idea to Launch
Build a risk-free SaaS or Mobile app with these 6 proven steps! From idea validation to launch, learn how to minimize risks and ensure success for your SaaS or mobile app idea.

Jon Mitchell
4 min read
Watch the Video Version
Introduction
Turning an app idea into a reality can feel overwhelming without a roadmap. The difference between a successful launch and an expensive misstep comes down to one thing: reducing risk at every step. Here’s a practical approach to validating and planning your app, so you can move from inspiration to launch with confidence.
Step 1: Define and Ruthlessly Prioritize Features
It’s tempting to aim for a feature-rich app from day one, but the key is focusing only on what’s essential for launch. Start broad—brainstorm all possible features, but then narrow it down to a handful that will provide true value.
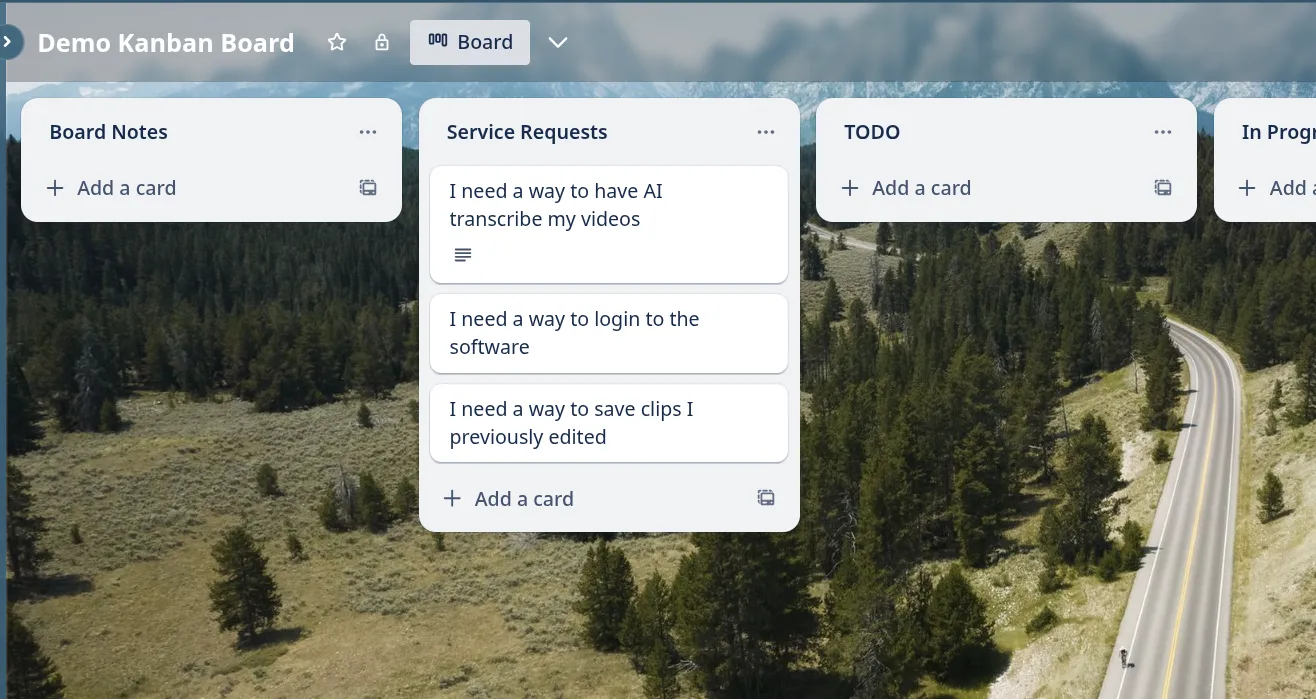
Use Trello or any Kanban tool to break your app down into individual cards. Each card should be a clear user story—short statements capturing what the app should do from the user's perspective. For example:
As an app user, I need a way to have AI automatically transcribe my video clip into text so that I can save hours of manual work every week.
This format keeps you anchored on user value and makes it easier to spot what’s truly necessary. Once your list is complete, apply a simple rule: if it’s not a resounding “yes”, save it for later.
Step 2: Separate Roles for Better Decision-Making

In the world of Agile product development, two roles are crucial—even if you fill both yourself:
- Product Owner: Decides what features the app needs.
- Project Manager (Scrum Master): Details how each feature works step-by-step.
After defining the user stories, the project manager writes clear requirements for each one. Think of these as detailed instructions for designers and developers, covering every necessary step and decision.
Step 3: Move from Text to Visuals with Wireframes and Mockups
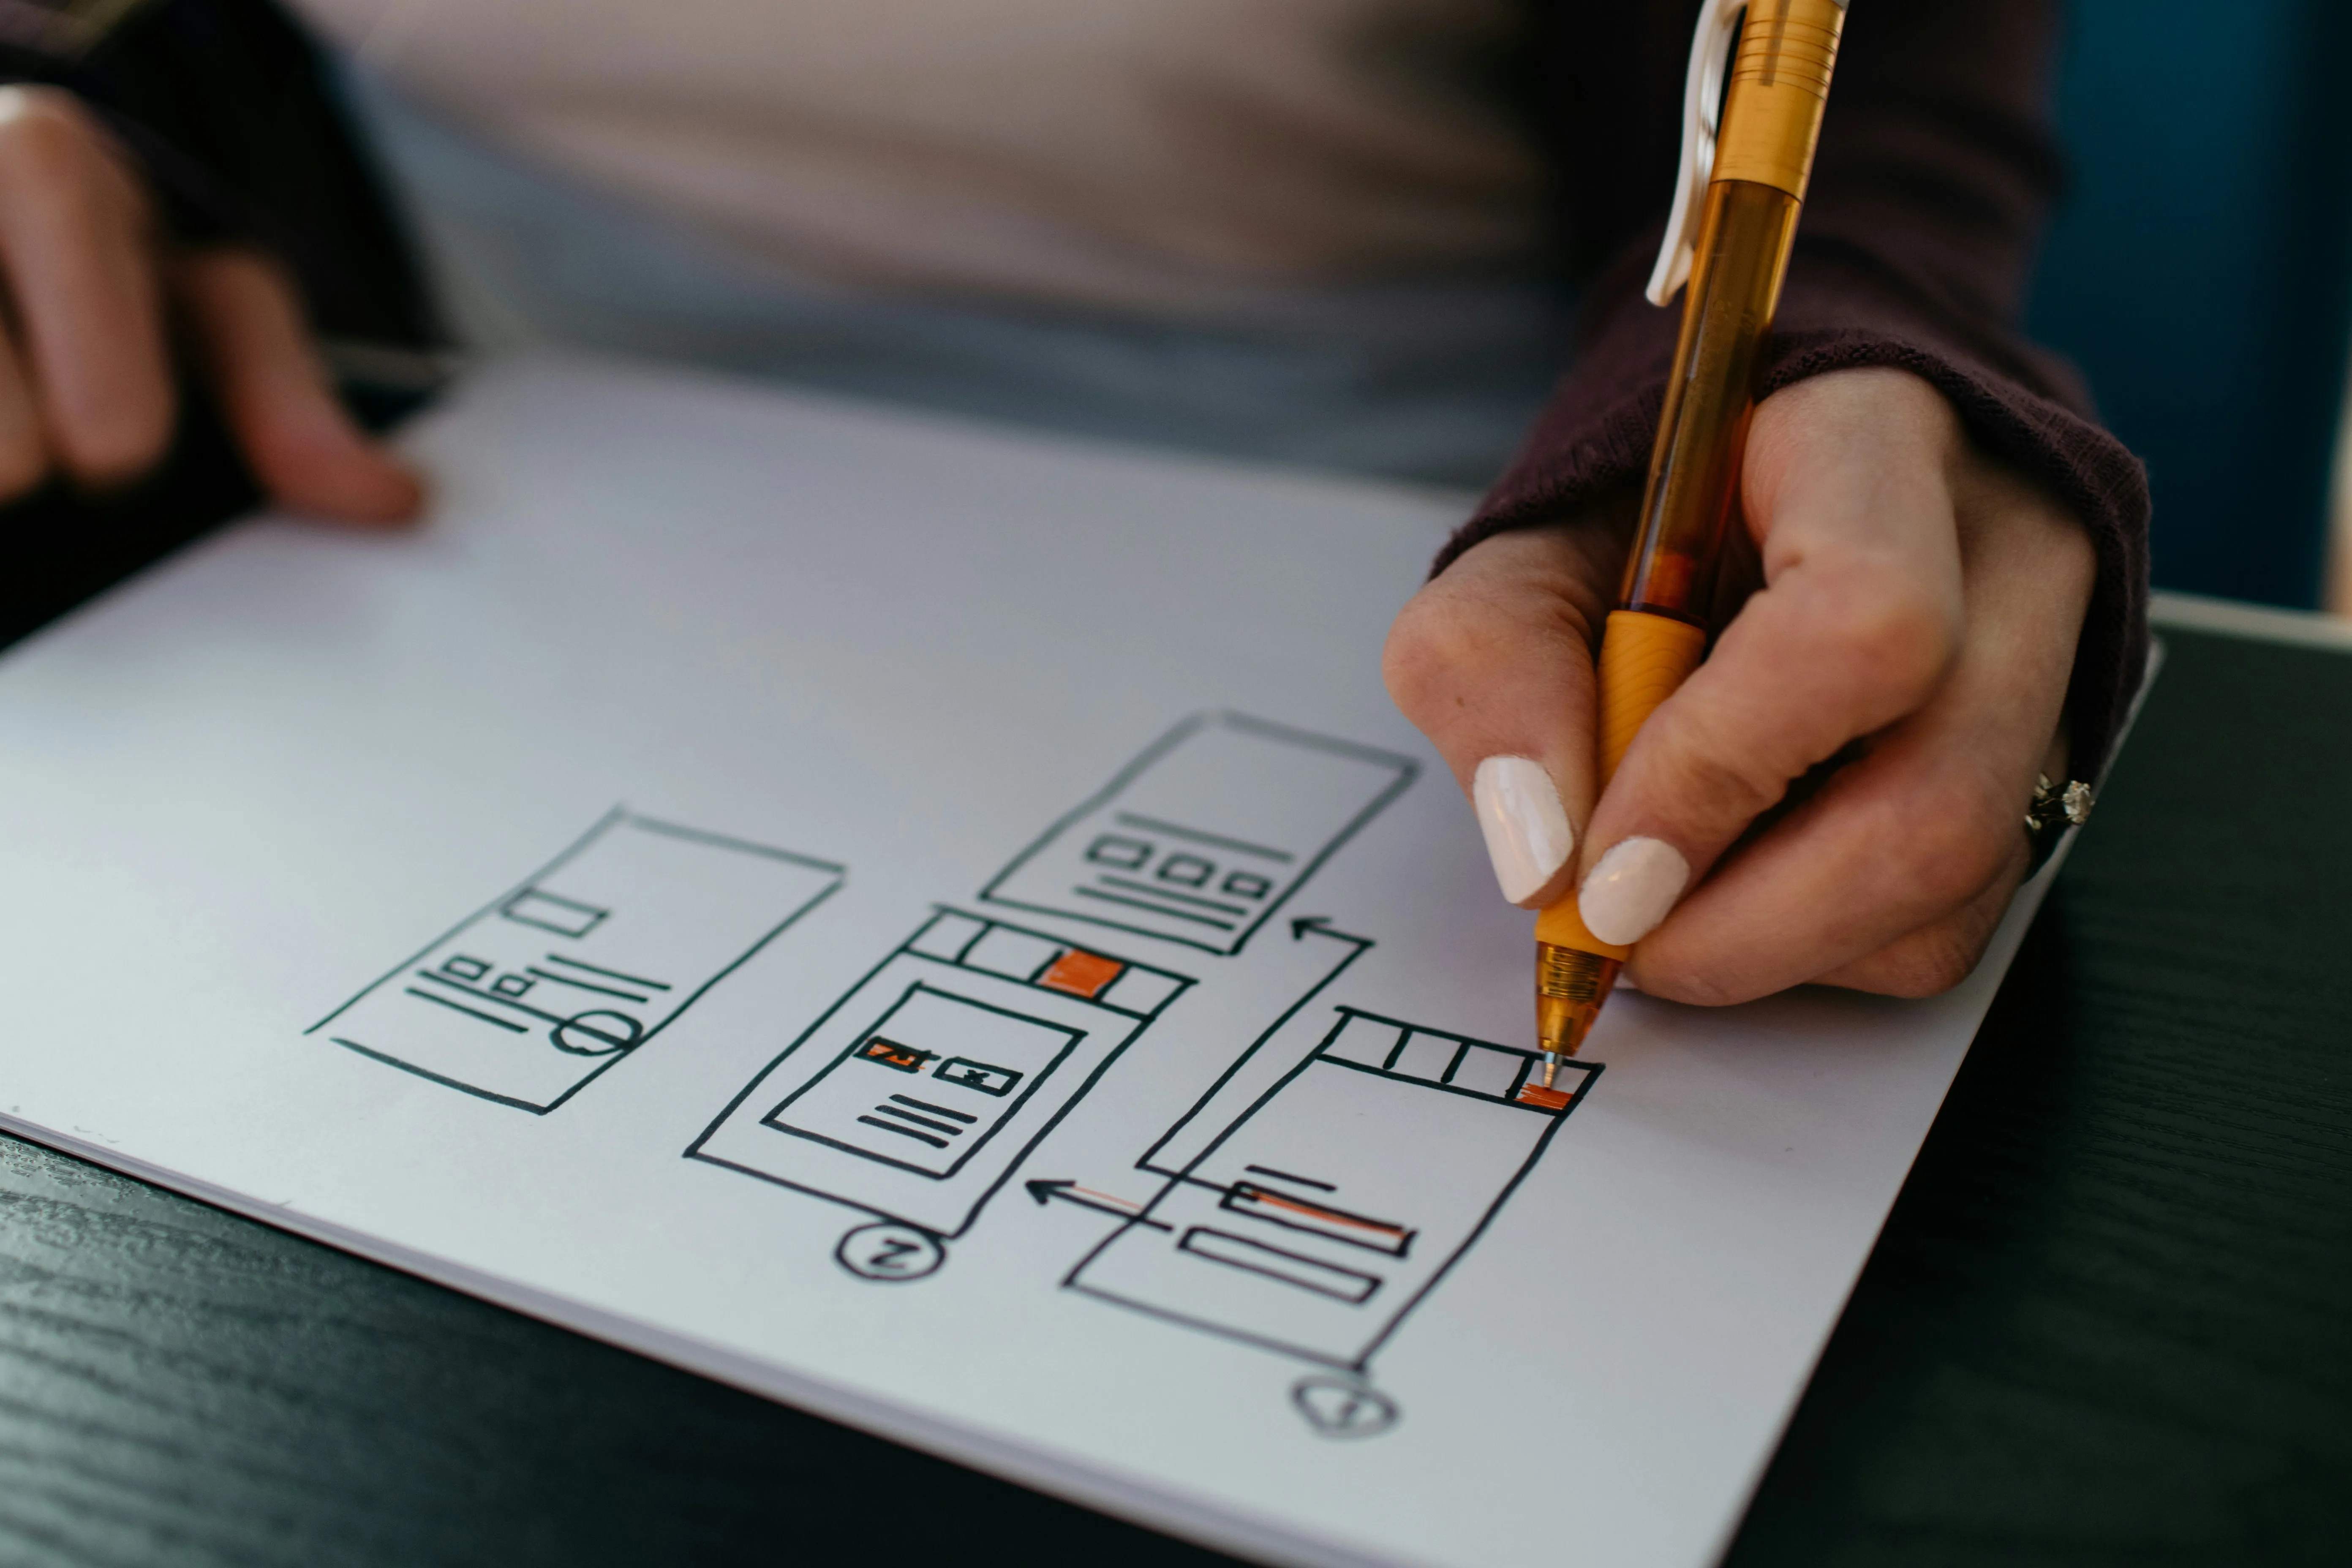
Textual descriptions only go so far. To get real feedback and ensure everyone shares the same vision, create wireframes (simple sketches or digital diagrams of your app’s UI) or high-fidelity mockups.
- For straightforward apps, rough wireframes using tools like Excalidraw are enough and save money.
- For complex apps where visuals matter, invest in professional mockups with tools like Figma.
Aim for just enough fidelity so users and stakeholders can picture the finished product—don’t overcomplicate this stage.
Step 4: Validate Your Concept With the Market

Now, take your user stories and visuals to real potential users. The goal: get honest feedback before building anything.
Ask questions like:
- Would this solve a real pain point for you?
- What would you pay for this?
- What’s missing or unnecessary?
You’re seeking enthusiastic “yeses”—ideally, users so interested they want to sign up for your launch announcement. If you get lukewarm or negative feedback, iterate: revise your features, refine your storyboard, and ask again. This loop reduces your risk of building something the market doesn’t want.
Step 4.5 (optional): Go to Investors

If you're in need of funds to get your app live, now is the time to go to investors. At this stage, it should be simple to sell your app idea now that you have market research data (describing how they will profit from your app), clearly defined features, and a mockup design. Prepare your pitch and watch the money roll in.
Step 5: Collect Quotes and Choose Your Developers

Once you have clear user stories, requirements, and validated mockups, you’re ready to talk to developers. Share your Trello board so candidates can see the full scope, which lets you gather accurate quotes without endless explanation.
With clear documentation, you can compare developer proposals on a level playing field. Once you choose a partner, develop an architecture diagram to map out your app’s technical blueprint—this is essential to ensure everyone is building the same "house".
Step 6: Develop, Iterate, and Launch

With development underway, establish regular progress check-ins. Share iterations with potential users from your validation phase—continuous feedback keeps you aligned with real market needs.
Only when the app checks all the boxes from your user stories and receives strong user interest, move on to a full launch. This iterative, risk-averse approach keeps your investment targeted, your timeline realistic, and your end product aligned with user demand.
Final Thoughts
The smartest app founders don’t just build—they validate at every step. Prioritize ruthlessly, collect feedback early and often, and never lose sight of market demand. You’re not just building software; you’re solving a problem for real people. Keep your process agile, your scope lean, and every dollar spent driving you toward launch day success.
No more waiting—it's time to start.
Bitzerk is your all-in-one technical partner for AI, software development, and fully managed technical solutions.
Book a Discovery Call ‣Related Posts

Subscribe to Blog
Software tips and tricks, straight to your inbox.